roots and mud
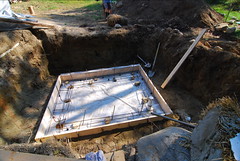
root cellar formwork

root cellar poured
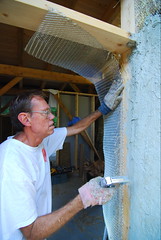
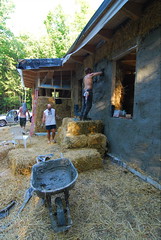
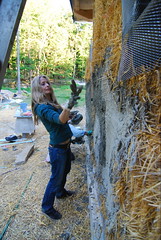
greg installs mesh
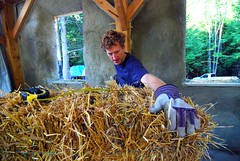
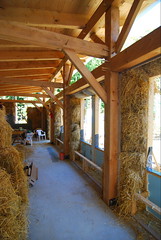
gingersnap shapes bales
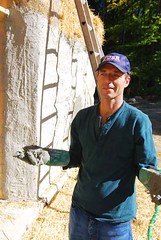
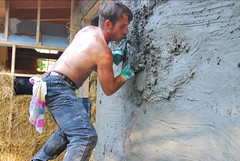
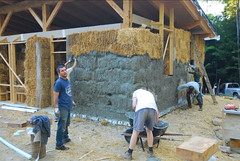
jeff mudding
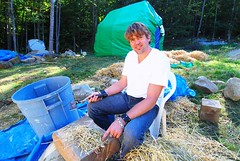
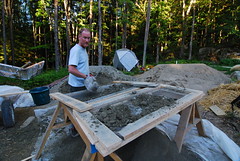
moonfire chops straw for the plaster mix
well, things change. last weekend we installed the footing and slab for the root cellar which will live ultimately under the dining room but for now is exposed to the elements. i decided to pour the slab and foundation rather than wait because the excavation of the cellar would likely have collapsed in the spring when the ground at the site becomes saturated with runoff. no sense in wasting the excavation money we'd spent. so, in one pass on friday we poured the footings and slab, pictured here. the slab has a drain in the lowest corner to provide an exit for water that gets into the cellar. we also poured the six porch footings.
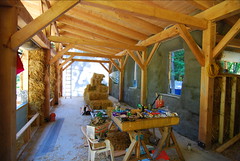
by monday, we'd almost finished the mudding, inside and out. we're about 95% of the way there, with just a couple spots to cover with the first coat. the mud is drying well with little cracking and repels and bumps quite well. it's not indestructible, but certainly won't be damaged by regular activity.
we still have a lot to do to wrap up this project: put on the roof, build a temporary west end wall, trim the eaves, place a second coat of exterior mud, carve the porch timbers and erect the porch (this may happen next spring), and a lot of other little things. but, i'm very pleased with our progress this summer. the energy and commitment of the volunteers is inspiring. i'm a bit pooped from all the work, but i know i'm going to miss the community and physical labor come winter.
posted by Matt Bucy at 12:46 PM
0 comments
![]()
![]()