Thursday, September 27, 2007

roots and mud

root cellar unpoured
root cellar formwork

root cellar slab poured
root cellar poured

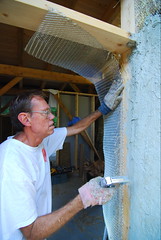
greg
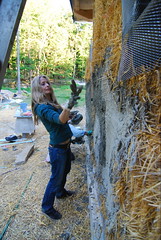
greg installs mesh

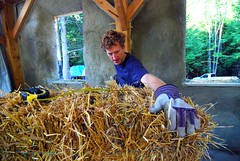
andrew
gingersnap shapes bales

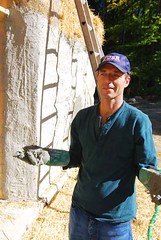
jeff
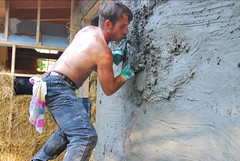
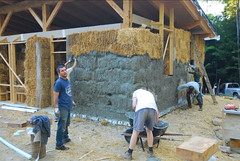
jeff mudding

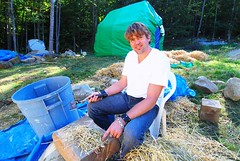
moonfire
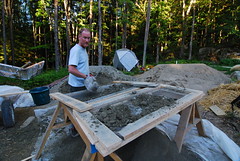
moonfire chops straw for the plaster mix

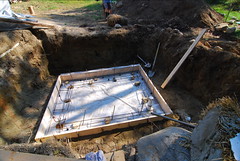
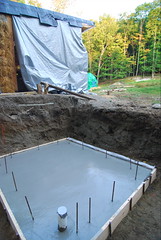
well, things change. last weekend we installed the footing and slab for the root cellar which will live ultimately under the dining room but for now is exposed to the elements. i decided to pour the slab and foundation rather than wait because the excavation of the cellar would likely have collapsed in the spring when the ground at the site becomes saturated with runoff. no sense in wasting the excavation money we'd spent. so, in one pass on friday we poured the footings and slab, pictured here. the slab has a drain in the lowest corner to provide an exit for water that gets into the cellar. we also poured the six porch footings.

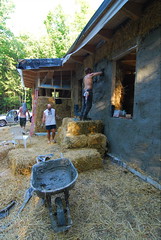
by monday, we'd almost finished the mudding, inside and out. we're about 95% of the way there, with just a couple spots to cover with the first coat. the mud is drying well with little cracking and repels and bumps quite well. it's not indestructible, but certainly won't be damaged by regular activity.

we still have a lot to do to wrap up this project: put on the roof, build a temporary west end wall, trim the eaves, place a second coat of exterior mud, carve the porch timbers and erect the porch (this may happen next spring), and a lot of other little things. but, i'm very pleased with our progress this summer. the energy and commitment of the volunteers is inspiring. i'm a bit pooped from all the work, but i know i'm going to miss the community and physical labor come winter.
Wednesday, September 19, 2007

inside

DSC_6519.JPG

DSC_6512.JPG

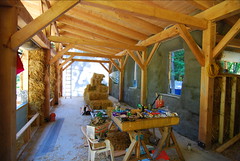
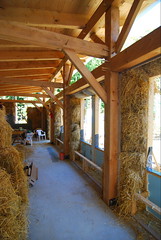
we're working our way inside with plastering and it's looking and feeling really great. i'm very happy with the window sizing and placement and the quality of light within the building.

there's still lots to do, but it looks like we'll get all of the building plastered, inside and out, the windows installed and the building secured for winter by the end of october. we're about a month behind schedule, not too bad considering that we're all volunteers. the weather has been fabulous this summer, perfect for construction.

i've installed a few moisture sensors in the walls so that we can watch what happens in the bales over time. each location has three sensors (two stainless screws in a piece of wood attached to some telephone wire), one on the outside, one in the middle, one on the inside. because straw bale construction is somewhat experimental it's a good idea to have a way to look inside the bales to see what's going on. i put two in the shower area because that will have a substantial amount of moisture that could make its way into the bales.

this coming weekend we'll be pouring the porch foundation, receiving the timbers for the porch, and we'll start carving those timbers for a mid-october raising of the porch. we'll also continue with plastering and finishing up straw details.

we've decided to put off any more work on the dining hall, which attaches to the kitchen, because we're close to the end of our budget. the group decided to move ahead with the dining room this year at the annual meeting, but we have spent so much effort on construction that we haven't had time to do much fundraising. that will be this winter's project.

Wednesday, September 05, 2007

mud!

DSC_5926.JPG

DSC_5929.JPG

DSC_5861.JPG

DSC_5866.JPG

DSC_5852.JPG

hey, we got mud! on the walls! most of the straw bales are up and a good half of them are mudded. this coming weekend we'll be aiming to finish it up. the first coat that is. we've got a couple more to go. then we move inside.

as you can see our mud is very gray in color. the clay comes from the connecticut river valley and is a mix of about 25% clay and the rest sand and some silt (more than we want). so it's not really clay but clayish soil. when mixed with masonry sand (washed and screened) and straw it makes a pretty hearty mix, but i was concerned about it washing off too easily. so, we experimented with mixing in slaked hydrated lime in various proportions. the lime made the mix much stickier and, when dried, much harder and water resistant. so, that's what we've used. the recipie:

  • 5 parts connecticut river clayish soil
  • 3 parts washed and screened sand
  • 1 part slaked hydrated lime putty
  • 2 parts straw chopped to 2" in length or less
the final coats will be lime and sand mixes.